Isoline Image Effect
Isoline Image Effect from KinoIsoline.This is an effect analysis for learning.
Use Eye Depth -> World Space Position
Linear01Depth(SAMPLE_DEPTH_TEXTURE(_CameraDepthTexture, uv)): 返回的是0到1的线性深度LinearEyeDepth(): Eye space depth
Notice: - 相机的depthTextureMode设置为Depth/DepthNormals. - 如果debug线性深度的渲染结果完全是黑色,尝试降低相机上的远裁剪平面
Math
假设view space的坐标为 则clip space的坐标应为 其中 齐次化后调整范围到0-1之间得到screen space的坐标为
通过反向上述的过程,即可以根据screen pos(v2f_img的uv)和depth计算出positionVS:
再乘以Camera.cameraToWorldMatrix即可得到positionWS.
Code
1
2
3
4
5
6
7
8
| float4x4 _Camera2World;
...
float z = LinearEyeDepth(SAMPLE_DEPTH_TEXTURE(_CameraDepthTexure, uv));
float2 p11_22 = float2(unity_CamereProjection._11, unity_CameraProjection._22);
float3 positionVS = float3((2 * uv - 1) /p11_22, -1) * z;
float3 positionWS = mul(_Camera2World, float4(positionWS, 1)).xyz;
|
Get Potential
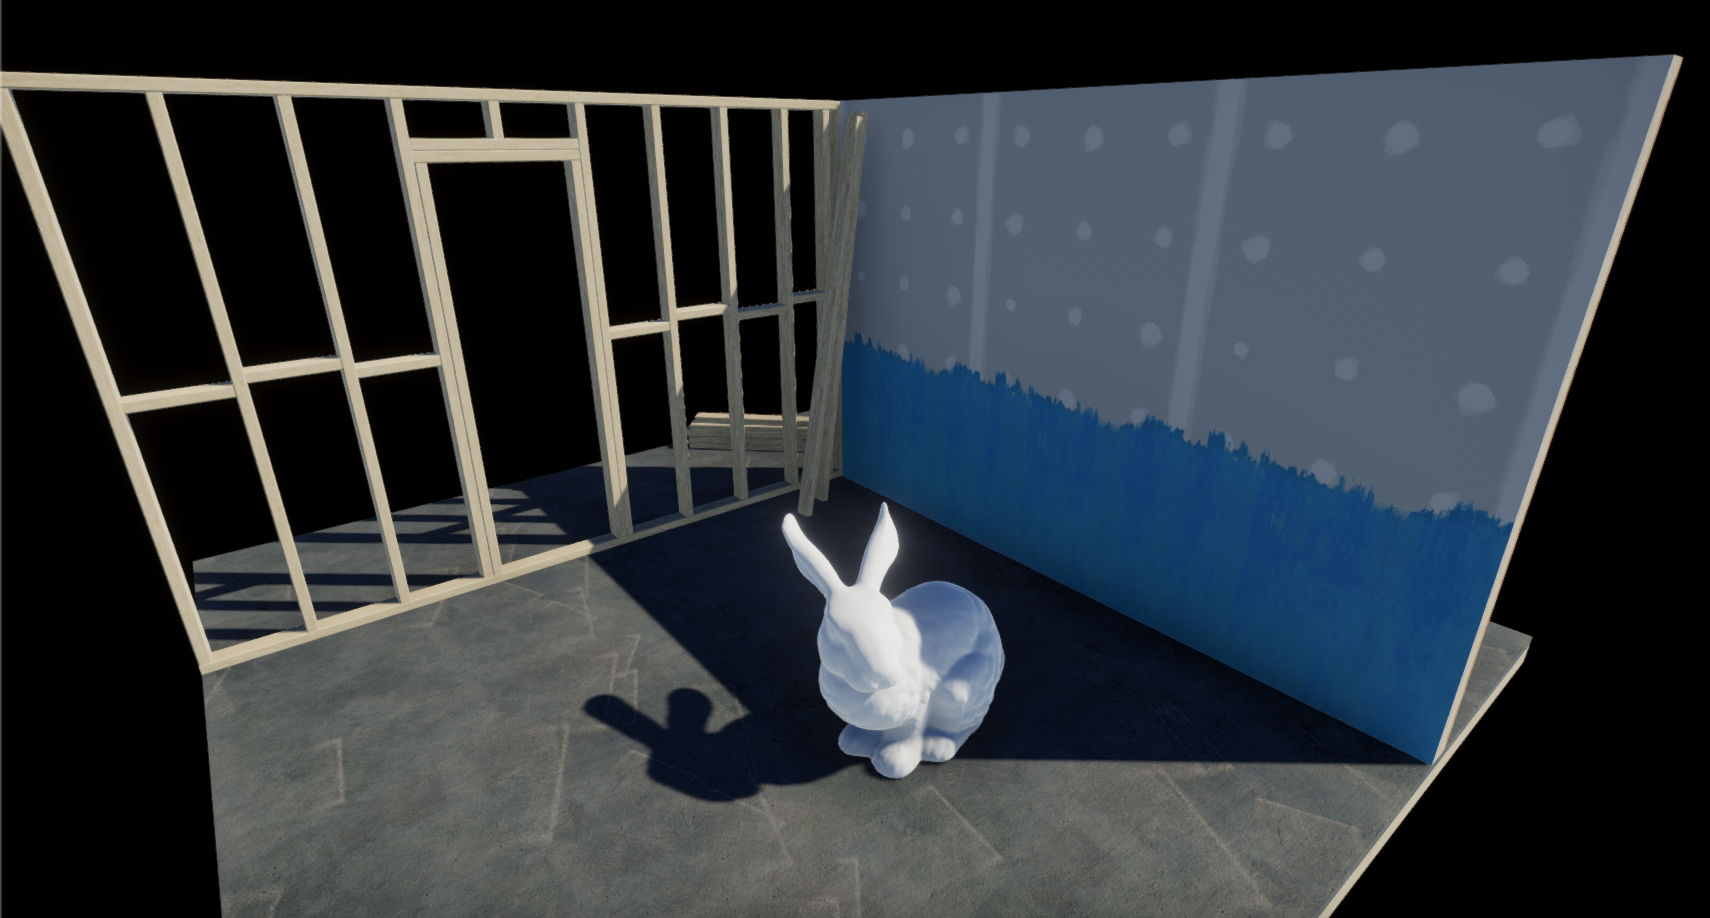
原始场景
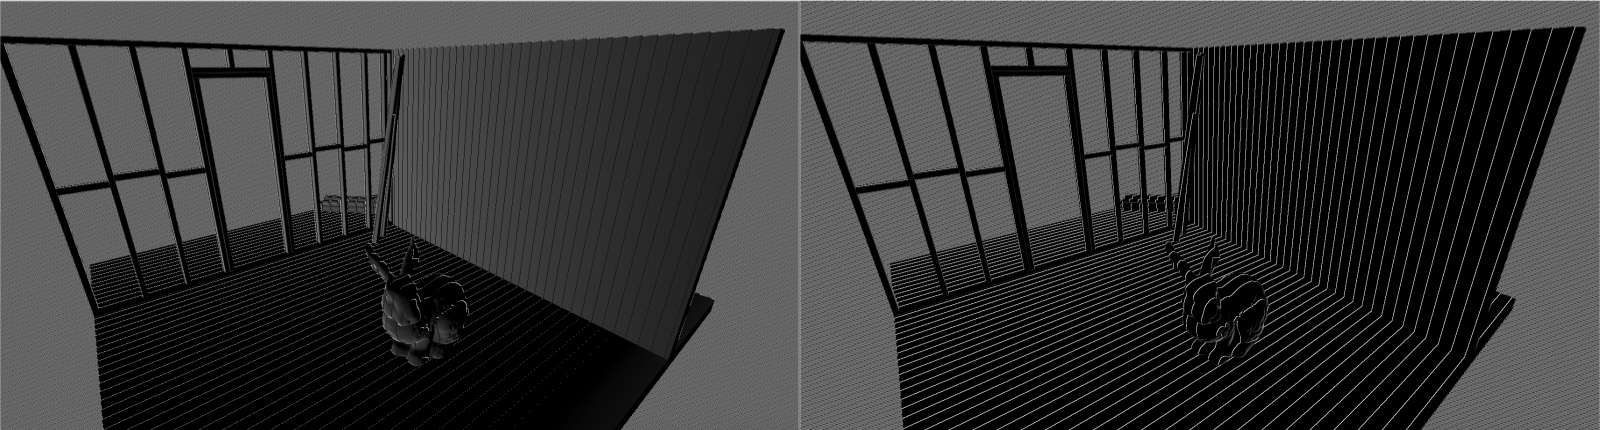
将positionWS投影到任意一个方向向量上(为例)。这一步即是将Eye space depth转化成沿着轴向的深度。
投影之后
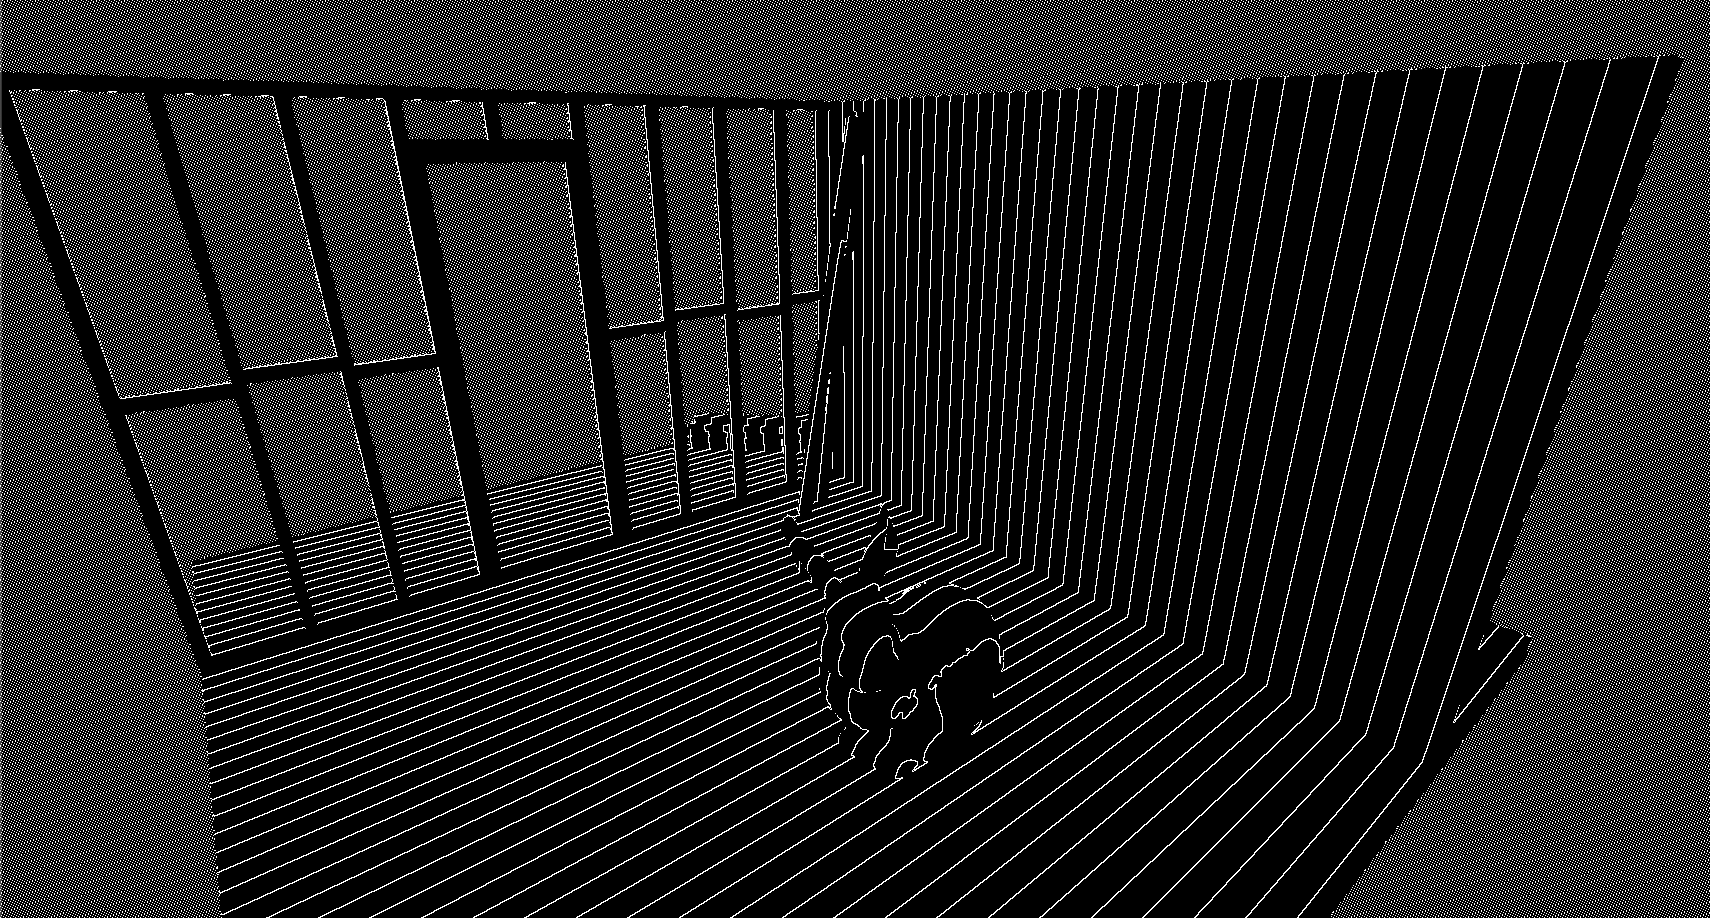
Isoline
对投影后的深度取小数部分,即分成了一段段0-1之间的区间。之后使用Roberts Cross Operator得到isoline,再通过Robert Edge Detection去掉模型的边缘,最后去除背景里的线.
- 四个采样点的坐标和potential values
1
2
3
4
5
6
7
8
9
10
11
12
13
14
|
float3 wp0 = EyeDepthToWorldSpacePos(i.uv);
float3 wp1 = EyeDepthToWorldSpacePos(i.uv + _MainTex_TexelSize.xy);
float3 wp2 = EyeDepthToWorldSpacePos(i.uv + float2(_MainTex_TexelSize.x, 0));
float3 wp3 = EyeDepthToWorldSpacePos(i.uv + float2(0, _MainTex_TexelSize.y));
float p0 = Potential(wp0, _Axis);
float p1 = Potential(wp1, _Axis);
float p2 = Potential(wp2, _Axis);
float p3 = Potential(wp3, _Axis);
|
1
2
3
4
| float3 g1 = frac(p1) - frac(p0);
float3 g2 = frac(p3) - frac(p2);
float g = dot(g1, g1) + dot(g2, g2) > 1.4;
|
g1,g2可以看做不同方向上的边缘,如下图
g1(左);g2(右)
g的结果为(没有去掉模型的边缘)
g with model edge lines
1
| g *= saturate(1.0 - abs(p1 - p0) - abs(p3 - p2));
|
1
2
3
4
5
6
7
8
9
10
11
12
13
14
15
16
17
18
19
|
<div align="center">
<img src="/images/roberts.png" width=70% />
</div>
<center>Roberts edge detection</center>

将g乘以1减去边缘就能去掉模型的边缘线,效果为

<div align="center">
<img src="/images/_g.png" width=70% />
</div>
<center>isoline value(g)</center>

可以看到背景中仍有isoline,通过四个采样点中最小的深度值和相机远裁剪平面的距离来构造fall-off参数

```c
// d0,d1,d2,d3为四个采样点的Linear eye depth,_FarClip为远裁剪平面距离
float mind = min(min(min(d0,d1),d2),d3);
float falloff = 1.0 - saturate(mind / _FarClip);
|
深度越接近_FarClip,saturate之后越接近1,则falloff越接近0,将g乘以falloff即可去除背景中的isoline
最后结果
1
2
3
| half4 c = tex2D(_MainTex, i.uv);
half3 color = lerp(c.rgb, _LineColor.rgb, saturate(g * falloff * _LineColor.a))
return half4(color, c.a);
|